Digital Production Services Homepage Brown University Library Homepage Brown University Homepage

c u r i o

Imaging rare, unusual, and intriguing objects at the Brown University Library

Historia de la villa imperial de Potosí

September 15, 2014 by | Comments Off on Historia de la villa imperial de Potosí

bdr_372649

Historia de la villa imperial de Potosí by Bartolomé Arzáns de Orsúa y Vela

Colonel George Earl Church (1835-1910) was commander of a Rhode Island regiment during the Civil War, an engineer, and well known for his explorations into South America. In 1912, the John Hay Library was left his personal library of over 3,500 volumes of economic, historic, geographic, and descriptive studies of South America. One of these volumes, an 18th century manuscript purchased by Church from a Parisian book dealer in 1905, is perhaps the most important item in the collection.

potosi_sun_moon_detail

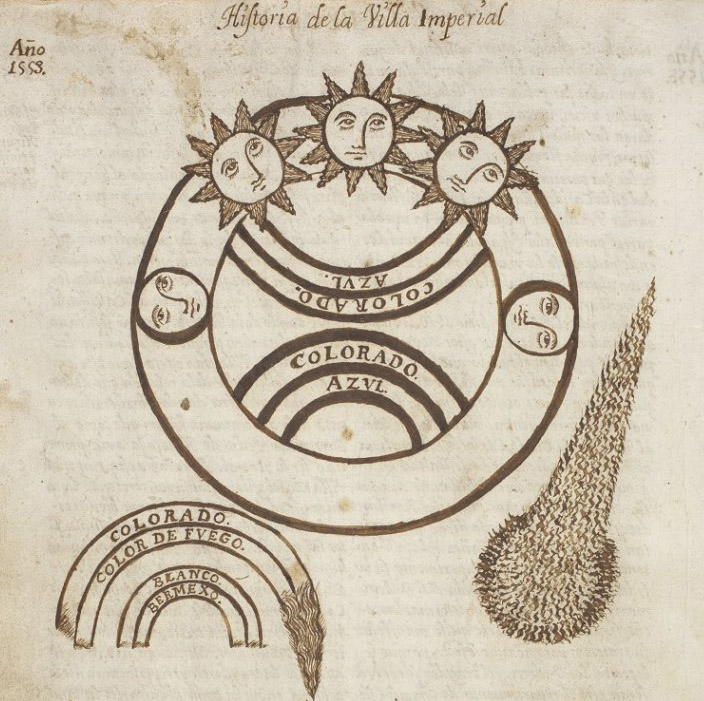
Representation of astronomical phenomena from the mine of Asiento de Porco, Bolivia. January 13, 1553.

The Historia de la villa imperial de Potosí chronicles life in the Bolivian “Imperial City” of Potosí, once the largest city in the New World and home to its most lucrative silver mine.[1. Special Collections of the Brown University Library : A History and Guide.] The manuscript is the “primera parte” of the complete work and records the dramatic social and political unrest of the city, the incomparable riches of its famous hill, greatness of its magnanimous people, its civil wars and memorable cases. Potosí has been vividly described as a “riotous  and gaudy civilization” [2. Lewis, Statement concerning the contents of the « Historia de la Villa Imperial de Potosí. Journal de la Société des Américanistes, 1936; pp. 401-404.], “proud and opulent, pious and cruel, torn asunder by dissension.”[3. Phelan, The History of Potosi of Bartolome Arzans y Vela. The Hispanic American Historical Review, Duke University Press, 1967.]  Illustrations included in the manuscript portray the metallurgy work of the city, its topographical features, and historic events.

In 1965, in celebration of the bicentennial anniversary of the University, the 1,200 page manuscript was published for the first time in its entirety and in the original Spanish. Now, as the University marks its 250th year, we are pleased to announce that the rare Libro Primero of the Historia de la villa imperial de Potosí has undergone treatment at the New England Document Conservation Center, and a digital version is now available in Brown’s Digital Repository, as part of the Latin American Travelogues collection.

Prior to treatment, the leather binding was degraded and the boards were detached. The pages of the manuscript were dirty and many pages were torn, especially along the edges. The paper was heavily stained and marks in ink and pencil appeared throughout the text. Once the volume was collated and disbound, the pages were washed in a solution of ethanol and filtered water, and sized with gelatin. The fly leaves were deacidified, tears were mended with Japanese kozo paper and wheat starch paste. After digitization, the volume was sewn on linen cords with linen thread, bound in goat leather, and housed in a drop-spine box.

                110049B110049B

          110048B110048B

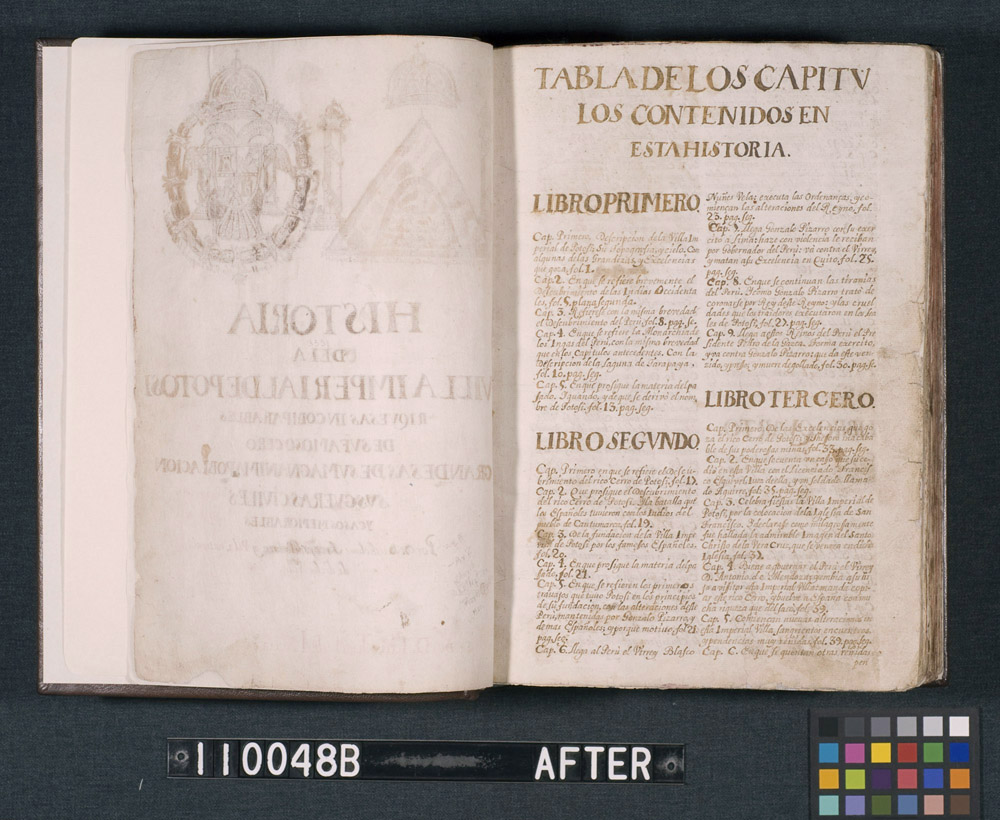
Treatment photos courtesy of NEDCC

Streamlining Broadsides

September 5, 2014 by | Comments Off on Streamlining Broadsides

Over the past year, Digital Production Services has been working on the digitization of one of the Brown University Library’s extensive collections of broadsides.  The Rider Broadsides Collection (named for Sidney S. Rider, the Providence bookseller, publisher, and antiquarian from whom the collection was purchased and then subsequently donated to the university) is the largest privately owned collection of materials related to history of Rhode Island. It’s been a great opportunity to see firsthand such historic materials, and the broadsides themselves have been largely straightforward to digitize.

Just one of many historical documents that DPS has digitized as part of the Rider Broadsides collection.

And the ability to digitize these materials efficiently is important when undertaking such a large project; were the materials all fragile, oversize books with foldouts, digitization could easily take years. But the Rider Broadsides have two important qualities that allow for high quality and high speed digitization: they are mostly flat materials, and many of the broadsides are approximately the same size. Books, for instance, with most setups require constant focus adjustments since the distance from the camera to the page changes as one moves through the books. Likewise, materials with size differences require the camera to be raised or lowered (and then refocused) to accommodate these variations and provide the best quality image. The Rider Broadsides, though, allowed us to set the camera height and focus at the beginning of a session, and then digitize a full day’s worth of work without requiring substantive changes in our setup (spot checks for focus and exposure are always made).

However, once the regular size materials had all been digitized, we moved onto the oversize materials, which present more of a challenge. There are just shy of 400 1-Size broadsides, which vary in size from 12″ x 16 ” to 18″ x 24″ (give or take 1/4″). While this may not seem like such a wide range, going from the smaller size to the larger requires us to either reset everything for each shot (including special compensation for vignetting on the larger materials), or to shoot everything as if it were the largest size. The problem with shooting for the largest size object is that we’d be compromising resolution: as the camera moves further from the object, resolution decreases. We had shot all the regular materials at 600 ppi (at full size), so one of our goals is to maintain as much resolution as possible. So we had to devise an approach to digitizing these materials that would maintain the efficiency as well as the quality that we had achieved with the regular-sized broadsides.

IMG_1047

Each of the four groups of broadsides, separated and labeled by size and camera settings.

The answer was to separate out the broadsides by size, and create a specific and easy-to-replicate camera setup for each size range. After going through every broadside, I came up with four size categories: 12 x 16, 14 x 19, 16 x 21, and 18 x 24 (all in inches). All the broadsides fit into one of these size ranges, which allow us to maximize resolution for each size. With a fixed set of size ranges, I went about determining the camera setups. Using just a tape measure and camera target, I plotted where on the camera platform a specific size would fall. I them focused the camera on the target, to see precisely where the camera needed to be to cover the entire image area while in focus. I noted the maximum size of an object for that image area, the resolution that could be achieved, and the height that the camera required (this number is taken from the mounted rail on the camera platform). I made labels for each set of broadsides, which I had separated onto different book trucks.

I also made tape labels for each size range that I affixed to the camera rail. This way, regardless of the person working in the camera room that day, and regardless of which group of broadsides they were working on, all the photographer needs to do is check the label on the stack of broadsides to determine the image size, find the corresponding label on the camera rail, move the camera to level with the label, focus, and shoot. We have digitized hundreds of broadsides so far, and this has turned out to be useful not just for effective digitization, but also for easier retrieval of paged materials.

signs2

Details of signage and camera rail markings.