The Battle of Borodino
November 5, 2014 by rness | Comments Off on The Battle of Borodino

Detail from Battle of Borodino. Steel engraving by J. B. Allen (1803–1876).
Just over a decade ago, a box of prints depicting French battles from 1811 and onward was selected from the Anne S.K. Brown Military Collection for digitization. Looking back, we see that on September 13th, 2004, a print from this box was entered into our internal tracking system, assigned the digital object ID of askb000001, and was digitized.
Peter Harrington, curator of the Anne S. K. Brown Military Collection, explains that the engraving, by James Baylis Allen and printed by Gad and Keningale of London in 1850, is based on a large painting (4ft x 7ft) by the noted British Royal Academician, George Jones. Jones painted and exhibited numerous battle scenes throughout his career, especially those depicting the Battle of Waterloo, for which he earned the sobriquet ‘Waterloo Jones’. Here, Jones has captured a moment in the Battle of Borodino, fought in Russia on September 7th, 1812. Now part of London’s Tate Gallery collection, the original oil painting was probably commissioned by Robert Vernon and was exhibited at the Royal Academy in 1829. The Tate’s display caption reads:
“The battle of Borodino was fought outside Moscow on 7 September 1812. It was the last action before Napoleon’s army entered the city on 14 September. Here, Napoleon stands in the right foreground, alongside his famous horse, Marengo. His cavalry commander, Marshal Murat, commander, is to the left. In the distance, the French attack Kutuzov’s Russian army. Their triumph was short-lived as Moscow was burned by the Russians and the French would soon endure their terrible retreat through the winter snows.”
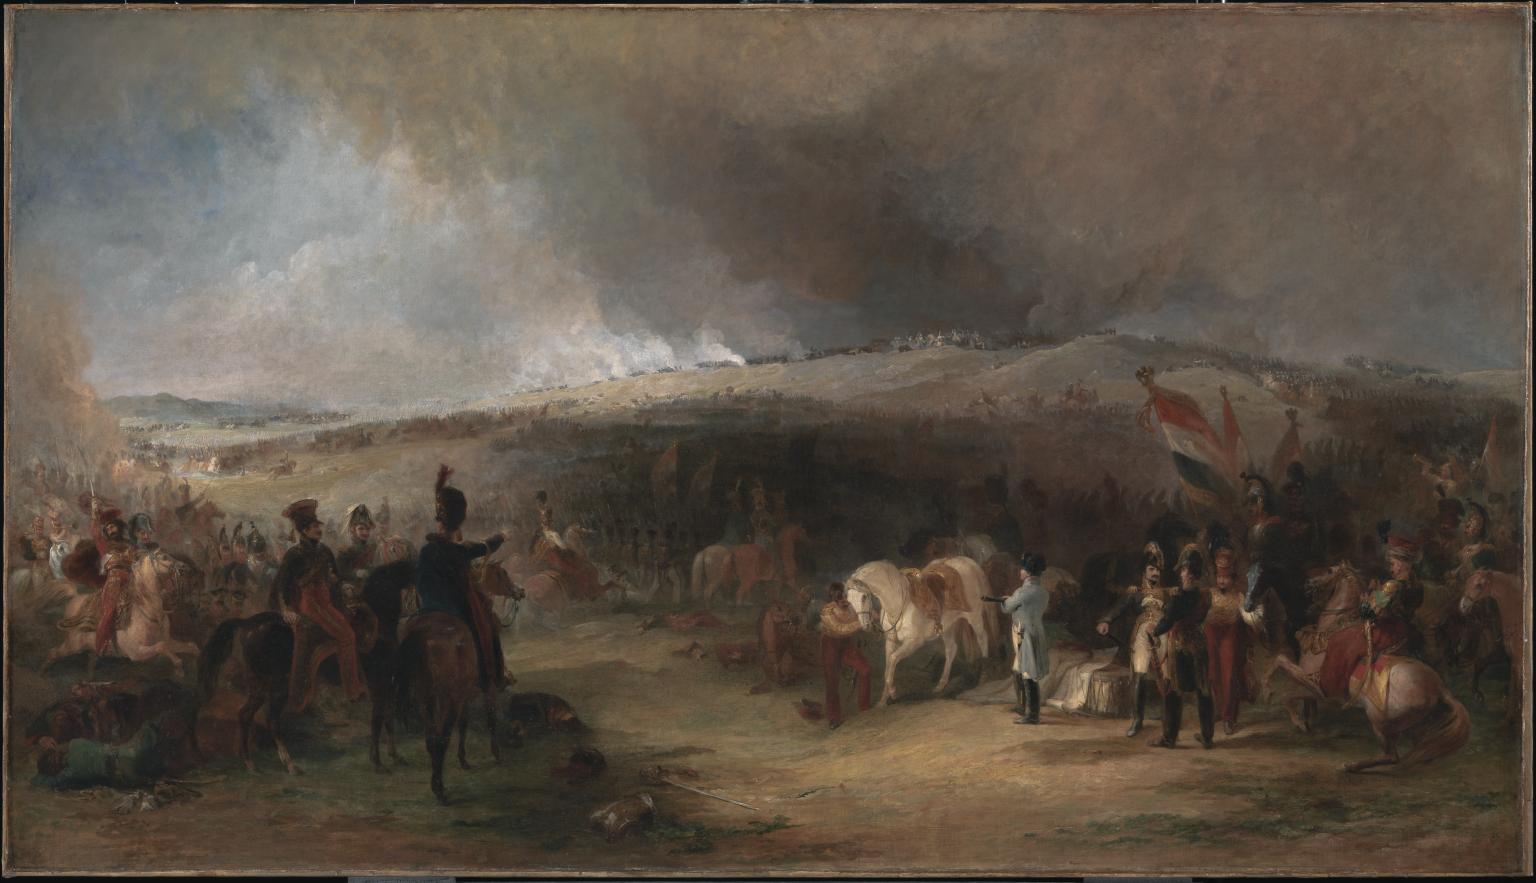
Battle of Borodino by George Jones
The steel engraving, part of the Anne S. K. Brown Military Collection, was executed at the behest of the proprietors of the Vernon Gallery, where the oil painting once hung, and was published in The Art Journal on August 1, 1850 (vol. 12, pg. 308).
A decade ago, we would have had difficulty imagining digitizing, cataloging, and publishing over 25,000 objects from the Anne S.K. Brown Military Collection. And yet, on Friday, October 31st, 2014, a 19th century sheet music series featuring lithographs of uniforms from various countries was published to the Brown Digital Repository, bringing the number of digitized Prints, Drawings, and Watercolors from the Anne S.K. Brown Military Collection to 26,639.
For more information on the the works of George Jones, see Peter Harrington, ‘The Battle Paintings of George Jones, R.A. (1786-1869), Journal of the Society for Army Historical Research, Vol. LXVII, Number 272, Winter 1989, pp. 239-252.