Digital Production Services Homepage Brown University Library Homepage Brown University Homepage

c u r i o

Imaging rare, unusual, and intriguing objects at the Brown University Library

Reconstructing the Berrigan Airplane

May 6, 2015 by | 2 Comments

Brown University Library’s Harris Collection of American Poetry and Plays, housed at the John Hay Library, contains a wealth of poetry-related ephemera. A promotional flyer from 1969 — designed to become a paper airplane glider — was recently acquired for the collection. The flyer advertised a February 5, 1969 reading at the Poetry Project at St. Mark’s Church (New York City) by Ted Berrigan (1934–1983; born in Providence, RI). As the previous owner of this item noted, the flyer itself was likely designed by Joe Brainard, who had collaborated with Berrigan in the past. (The original artwork resides in the Henry W. and Albert A. Berg Collection of English and American Literature at the New York Public Library.)

Since the flyer only becomes fully legible when folded, we decided to reconstruct the plane: our high-res. photos of the newly acquired printed copy, digitally processed to use as high-contrast line art, became a double-sided print ready for folding. Shown below is a view of one side of the flattened flyer, the reprinted flyer assembled as a paper airplane (underside view), and evidence of a successful test flight.

flat artwork

Flattened newly-acquired print

Preflight snapshot of reprint

Preflight snapshot of folded reprint

test flight

Test flight

The Unicorn of the Sea Comes to Brown

March 10, 2015 by | 2 Comments

I often write about techniques to photograph unusual objects, or situations that involved photographing objects on site. This past Friday, however, we had the unique pleasure of photographing a very rare and unusual object while it was being installed for exhibition.  My colleague and I photographed a narwhal tusk from the Paul C. Nicholson Whaling Collection of the Providence Public Library, on loan to Brown for the exhibit Unicorn Found: Science, Literature and the Arts. The exhibit, as well as a special Unicorn Colloquium the afternoon of March 11, are part of the larger, multi-institution Unicorns in Residence: Providence event this spring.

tusk01

The Narwhal tusk is remarkable to view in person; I was surprised at its size (56″ long), and its hollow, spiral structure. In a previous discussion about photographing this object, it was decided that the safest and most efficient time for photography was during installation of the tusk, so it would be handled as little as possible and by the folks who specialize in handling these materials. (While my colleagues and I are familiar with many special handling techniques for rare and fragile objects, the narwhal tusk requires multiple people to handle, and while its age is unknown it is a decidedly delicate object.) All object handling was done under the direction of Jordan Goffin, Special Collections Librarian at the Providence Public Library, with the assistance of Rachel Lapkin, Materials Conservator at Brown (who also made the stands that support the tusk), and Sarah Dylla, a Public Humanities graduate student at Brown working on a fellowship in Special Collections.

tusk-setup

The tusk in its display case at the Hay, prepared for photography with gray backdrop and studio lights. The camera, tethered to an out-of-frame laptop, is mounted on a tripod on a table to obtain a suitable height and distance from the object.

The tusk is housed in a display case that can be viewed either from the main lobby or the Grand Reading Room at the Hay. After looking at the space prior to photography, we decided to photograph the tusk in its display case, with a neutral gray backdrop set up temporarily for photography. We set up the backdrop, two lights to illuminate the tusk, and then the tusk was moved into place. We had decided to photograph it from several angles – straight on, and from multiple side and front views –  so we made several images from one vantage point, and then moved on to additional angles and views.

tusk-details

Alternate views and detail of the narwhal tusk.

The tusk, and a number of other curious unicorn-related materials, will be on display in the John Hay Library in the renovated lobby cases and Willis Reading Room cases from March 11 – July 31, 2015.


Capturing the Transit of Venus

March 2, 2015 by | 1 Comment

Recently, as part of Brown’s 250th celebration, my colleague and I were asked to photograph a selection of the many historical objects at Brown. Among these was the Transit of Venus telescope, a Gregorian reflecting telescope made by Watkins and Smith of London, and donated to the University by Joseph Brown. The telescope is named for the event it was purchased to observe: the movement of Venus across the sun. The transit of Venus was observed by Brown, Benjamin West, and others on June 3, 1769 – and more recently on June 5, 2012.

venus-main

The final version of the Transit of Venus telescope, photographed on site in the Lownes Room.

Thankfully, my colleague and I did not need to address any planetary movements to photograph this object; however, we did need to photograph it on-site in the Lownes room at the John Hay Library. We brought our backdrop, lights, and camera, and it was a relatively simple setup. We were careful to set up the camera so that the lens and angle of view did not distort the telescope in any way; our main challenge was actually positioning the lights. The telescope is incredibly reflective, and while changes in tone help show the shape of the telescope, and some highlights are useful for showing surface texture, initially we were getting long streaks of blown-out highlights, causing a visual distraction within the overall image.

venus-setup

Our straightforward lighting setup gets the job mostly done – all we have to deal with is the large highlight streak in the center of the telescope.

After trying multiple approaches – from changing the position and distance of the lighting, to a system of reflectors – we decided that our best option was to make two captures to merge together. To keep image distortion to a minimum, we decided to keep the setup largely the same, but to reposition the angle of one of the lights for each shot. Once finished, we had one image that was properly exposed except for a blown-out streak on the right side; and another with the lighting problem on the left. Layered in Photoshop, it was easy to merge the images to create a single image that accurately captures the telescope without the distracting highlight.

venus-in-merged

The two vies of the telescope – the only differences are the positions of the highlights, created by repositioning and changing the angle of our lighting equipment to reduce the glare.


Photographing the Edwards Cane

January 23, 2015 by | Comments Off on Photographing the Edwards Cane

Shortly before we left for our holiday break, I had another opportunity to photograph historical materials and objects from the Brown University Archives. We’ve had a number of interesting objects come through lately as part of Brown’s 250th celebrations, and since we often are photographing books and documents, three-dimensional objects can be a treat to have in the studio.

One of the more challenging objects that I got to work with is known as the “Edwards Cane,” a cane that belonged to Morgan Edwards, an important figure in the founding of Brown University. The bottom of the cane is rounded and does not stand on its own; it also has an ivory head with a small silver plate bearing an inscription. It was important to shoot both the cane overall as an object, but also focus in on the inscription.

cane-views

Edwards Cane; full shot (L) and detail of inscription (R). The hole in the cane visible in the detail shot, just below the ivory handle.

Usually, when we are given more complicated objects to photograph, it’s the nature of the surface materials that presents the greatest challenge: oil paintings, for instance, that are prone to glare; or objects made of silver or glass, which require the construction of light tents in order to capture the details of the object without also capturing our own reflections. The Edwards Cane, however, posed a new challenge: how to adequately support the object while keeping the intrusion of the support elements into the image at a minimum. The best way to photograph it would be to build a support that gently but firmly clamps onto the cane and holds it at a precise position, so we could have the exact angle we wanted without damaging the cane. However, despite multiple attempts, I was unable to find any support mechanism that would support the cane well, not allow any movement, not cause any damage to the cane, and not be incredibly difficult to digitally remove from the final image.

cane-tape

The cane with packaging tape support.

And then I found the trick. The cane actually has a hole running through it a few inches below the top, visible in the detail of the inscription. The hole runs through the width of the cane and is lined in metal; it’s sturdy, and at just the right spot as a center of gravity of sorts. It was perfect – I just had to find the right material to run through this hole to keep the cane supported and at the correct angle. After trying multiple types of rope, twine – even extra strong fishing line – the material that worked best was regular clear packing tape. When folded over itself, the packing tape leaves no residue behind on the object, and it’s possible to fold it in odd shapes as you go. This was important, because I was able to create small bumps on either side of the cane, which did not cover any of the object when photographed but did keep the cane perfectly in place. The cane is very light, so this turned out to be the perfect option for keeping it in place. I ended up using two additional, much more powerful tapes to attach the packaging tape support to the wall and desk of the studio, to keep the cane in the correct position (this technique actually allowed me to change positions easily, so I could angle the cane and capture the inscription without having to reposition the entire setup).

Once the support was in place, the rest of the setup was straightforward. I positioned two lights with umbrellas as well as a simple grey backdrop, and was even able to shoot tethered with our high-resolution digital back (very important in checking the focus, especially on the inscription). I was able to capture the front, back, and a few details relatively easily, only needing to move the lights and slightly adjust the angle of the cane. Adjusting the cane was not a problem, but I waited approximately two minutes after I made any adjustments for any movement I created to cease. The final images did require some minor retouching – mainly just removing the evidence of tape from the grey background. The result was a set of high-resolution, clean final images that show all the important elements of the cane, and further proof that no photography studio can have too much tape on hand.

cane-setup

The final setup for photographing the cane, showing the packaging tape support attached to the studio wall and desk, the camera tethered to our capture computer, and a basic lighting setup.


Digitizing the “mirror with a memory”

October 7, 2014 by | Comments Off on Digitizing the “mirror with a memory”

As we celebrate Brown’s 250th anniversary, Digital Production Services has been asked to digitize many historical university materials. Some of the earliest photographs in the university’s extensive collection are daguerreotypes made of graduating classes, and I was recently asked to digitize two these: the class of 1847; and the class of 1852.

iphone-reflection

The common reflective characteristics of a daguerreotype.

Daguerreotypes present several challenges in digitization, mainly due to their inherent physical characteristics. Above all else, daguerreotypes are by their very nature incredibly reflective. In this nineteenth century process, the actual photographic image is formed on a silver-coated copper plate that is polished to a mirror-like sheen. Depending on the lighting and viewing angle, even just hand-holding the daguerreotype may provide you with a clear image of the subject, or you may just be staring back at yourself. Additionally, daguerreotypes are often encased behind glass to protect the fragile image resting on the surface of the silver – helpful in maintaining image integrity, but adding another layer of reflection. In order to view the daguerreotypes (as well as digitize them) with any degree of success, you must control the lighting that strikes the object, and completely block out any object that would cause a reflection. Because lighter objects are always more visible in this type of reflective image, photographing a daguerreotype of any size requires surrounding the object with black foam, paper, or cloth that will help offset its reflective properties.

I approached photographing these daguerreotypes the same way I would approach any reflective material: by building what amounts to a tent around the object. Whereas with many objects (highly reflective silver with no printing, for instance) work best surrounded by white paper or foam core (or even semi-translucent vellum), daguerreotypes work best surrounded by all black. Black eliminates reflections, as well as helps make the image on the surface of the silver as clear and readable as possible. The most obvious reflection is often that or the camera itself; since I was photographing the daguerreotype reprographically, the camera was positioned directly above that polished silver surface. The best way to avoid seeing the camera’s reflection in the lens is to take a large sheet of black foam core, cut a small hole just for the lens of the camera, and cover the entire camera rig with the foam core.

reflection-comparison

Daguerreotype, Brown University, class of 1852: The image on the left shows the camera (with its various wires to the computer and strobes) directly reflected in the daguerreotype; the image on the right shows the same daguerreotype with the camera covered by black foam core.


Although it’s possible to just use a sheet of black foam core to reduce reflection, I built a small rig to hold the foam core up (hand holding it myself could potentially add camera shake) and reduce any reflections from the walls behind the camera (painted a light neutral grey, but still reflective). These photographs show the supports for the foam core and the hole I made for the lens, and then the final setup for shooting.

behind-the-scenes

Additionally, although proper focus is always important, it is particularly important when it comes to daguerreotypes. Daguerreotypes were developed in 1839, and these older processes required much longer exposure times than what we are used to: a typical exposure could last up to a minute or more. Because of this, at the time it was challenging to keep people in focus because it was difficult to keep them still; as a result, it can be tricky to make out faces due to the motion blur. Thus, when digitizing, keeping the focus as sharp as possibly is necessary to producing a readable image. For this daguerreotype, I actually placed the object on several blocks of foam core to focus into the encasement and reach the image on the plate beneath.

Finally, both daguerreotypes are suffering from degradation and corrosion, common problems for this sensitive and fragile type of photograph. They will soon be sent to the Northeast Document Conservation Center for conservation and repair.

Streamlining Broadsides

September 5, 2014 by | Comments Off on Streamlining Broadsides

Over the past year, Digital Production Services has been working on the digitization of one of the Brown University Library’s extensive collections of broadsides.  The Rider Broadsides Collection (named for Sidney S. Rider, the Providence bookseller, publisher, and antiquarian from whom the collection was purchased and then subsequently donated to the university) is the largest privately owned collection of materials related to history of Rhode Island. It’s been a great opportunity to see firsthand such historic materials, and the broadsides themselves have been largely straightforward to digitize.

Just one of many historical documents that DPS has digitized as part of the Rider Broadsides collection.

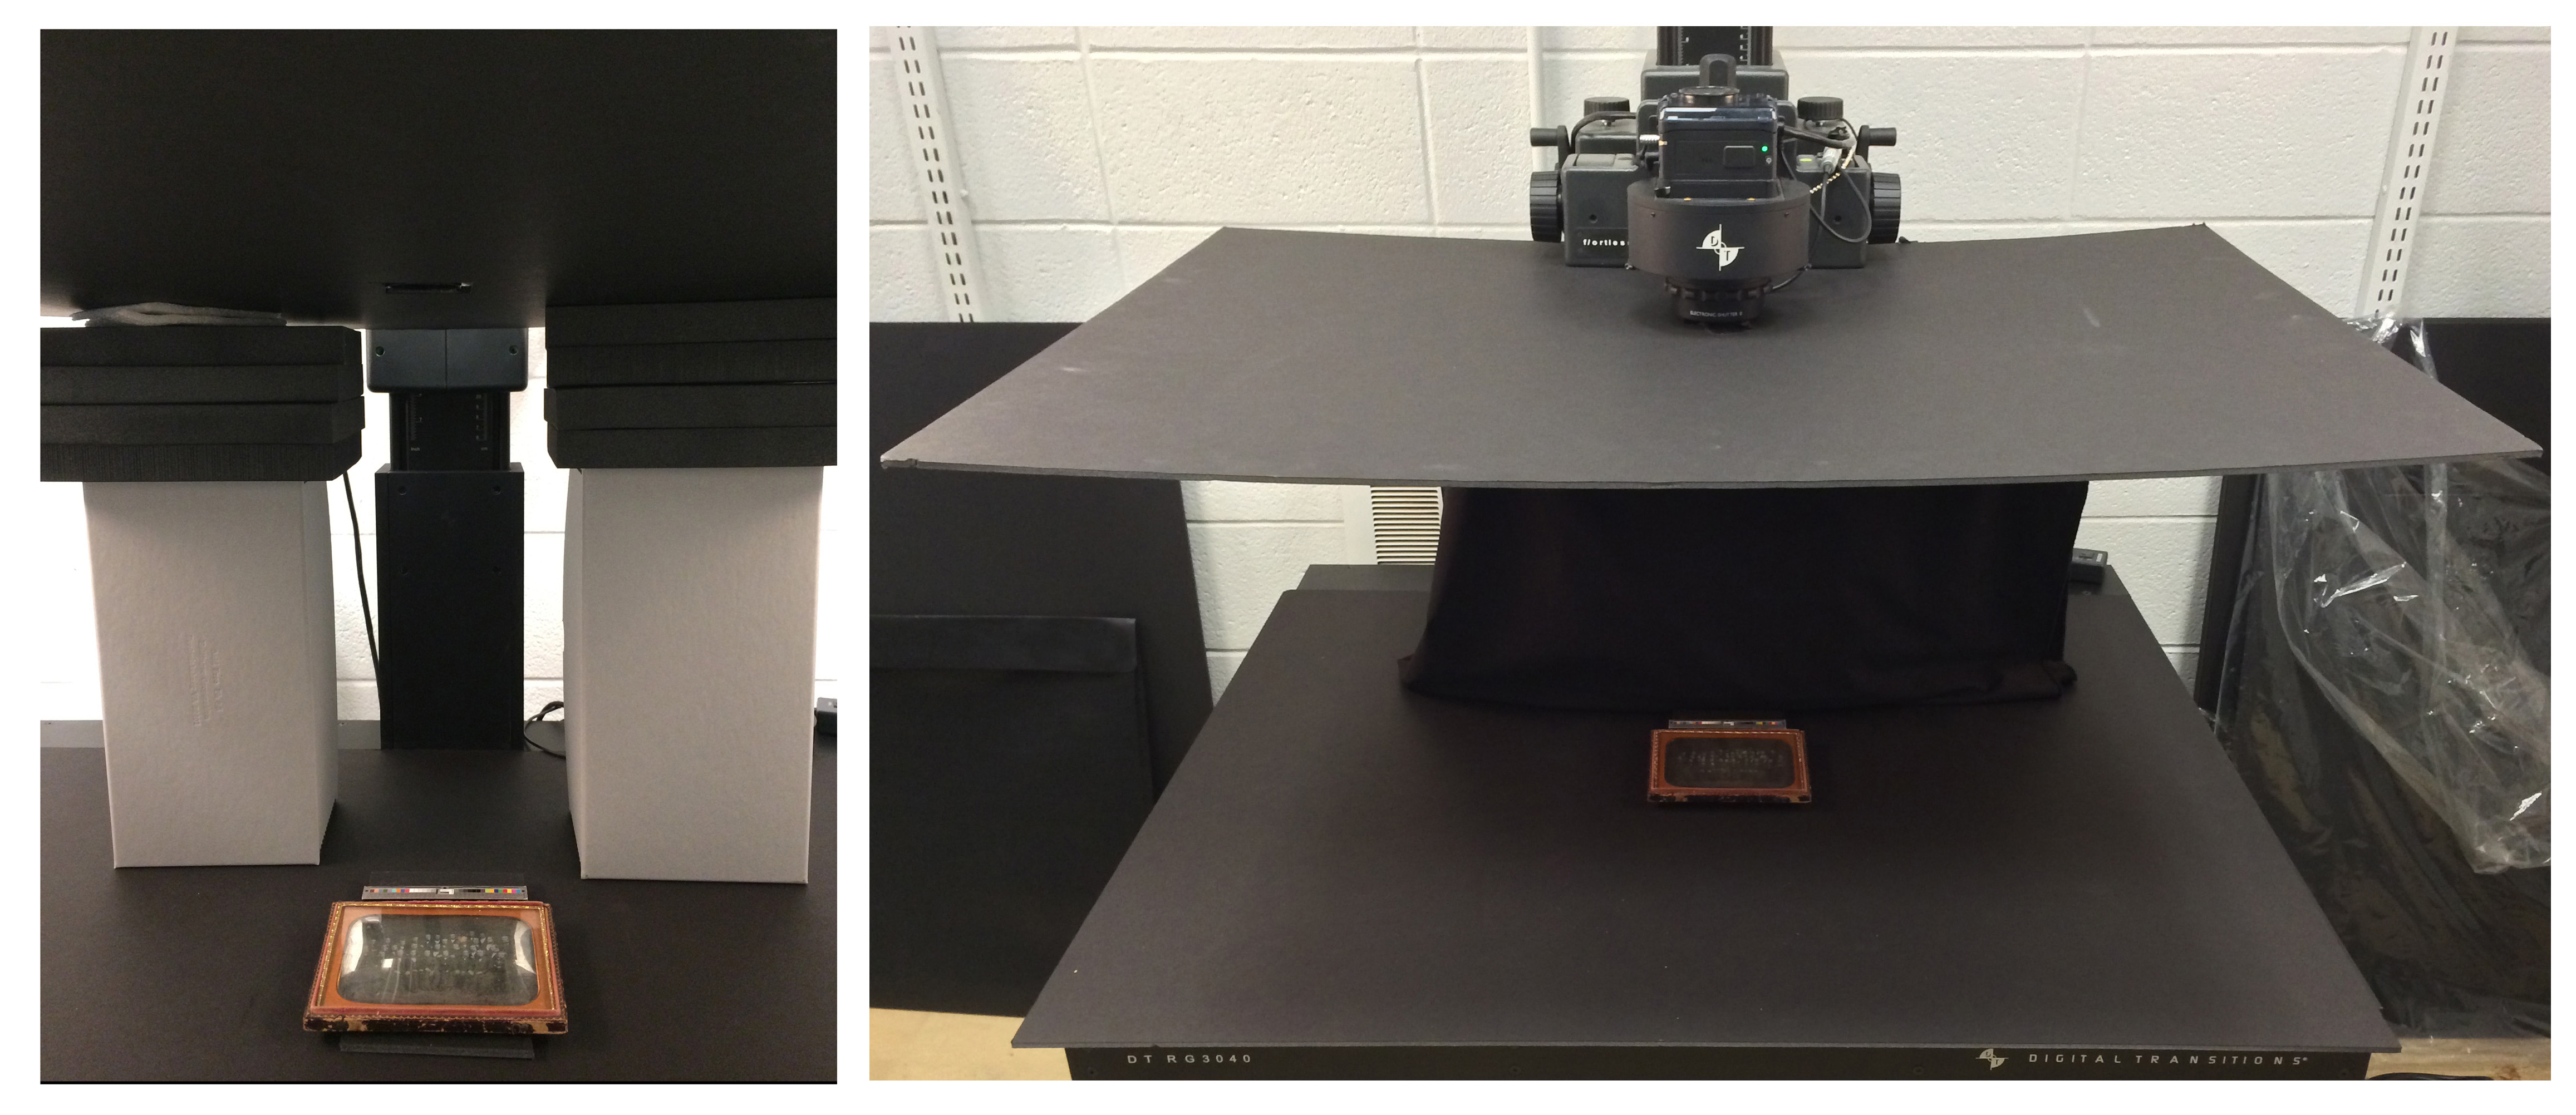
And the ability to digitize these materials efficiently is important when undertaking such a large project; were the materials all fragile, oversize books with foldouts, digitization could easily take years. But the Rider Broadsides have two important qualities that allow for high quality and high speed digitization: they are mostly flat materials, and many of the broadsides are approximately the same size. Books, for instance, with most setups require constant focus adjustments since the distance from the camera to the page changes as one moves through the books. Likewise, materials with size differences require the camera to be raised or lowered (and then refocused) to accommodate these variations and provide the best quality image. The Rider Broadsides, though, allowed us to set the camera height and focus at the beginning of a session, and then digitize a full day’s worth of work without requiring substantive changes in our setup (spot checks for focus and exposure are always made).

However, once the regular size materials had all been digitized, we moved onto the oversize materials, which present more of a challenge. There are just shy of 400 1-Size broadsides, which vary in size from 12″ x 16 ” to 18″ x 24″ (give or take 1/4″). While this may not seem like such a wide range, going from the smaller size to the larger requires us to either reset everything for each shot (including special compensation for vignetting on the larger materials), or to shoot everything as if it were the largest size. The problem with shooting for the largest size object is that we’d be compromising resolution: as the camera moves further from the object, resolution decreases. We had shot all the regular materials at 600 ppi (at full size), so one of our goals is to maintain as much resolution as possible. So we had to devise an approach to digitizing these materials that would maintain the efficiency as well as the quality that we had achieved with the regular-sized broadsides.

IMG_1047

Each of the four groups of broadsides, separated and labeled by size and camera settings.

The answer was to separate out the broadsides by size, and create a specific and easy-to-replicate camera setup for each size range. After going through every broadside, I came up with four size categories: 12 x 16, 14 x 19, 16 x 21, and 18 x 24 (all in inches). All the broadsides fit into one of these size ranges, which allow us to maximize resolution for each size. With a fixed set of size ranges, I went about determining the camera setups. Using just a tape measure and camera target, I plotted where on the camera platform a specific size would fall. I them focused the camera on the target, to see precisely where the camera needed to be to cover the entire image area while in focus. I noted the maximum size of an object for that image area, the resolution that could be achieved, and the height that the camera required (this number is taken from the mounted rail on the camera platform). I made labels for each set of broadsides, which I had separated onto different book trucks.

I also made tape labels for each size range that I affixed to the camera rail. This way, regardless of the person working in the camera room that day, and regardless of which group of broadsides they were working on, all the photographer needs to do is check the label on the stack of broadsides to determine the image size, find the corresponding label on the camera rail, move the camera to level with the label, focus, and shoot. We have digitized hundreds of broadsides so far, and this has turned out to be useful not just for effective digitization, but also for easier retrieval of paged materials.

signs2

Details of signage and camera rail markings.

A more typical look at the camera room

July 11, 2014 by | Comments Off on A more typical look at the camera room

Since I often concentrate on more involved or difficult setups, I thought it might be good to take a look at a setup that we are most likely to encounter at DPS on a day-to-day basis. This image shows an album of watercolors depicting the uniforms of European soldiers from 1791-1808, and represents just one of the over 25,000 digitized objects from the Prints, Drawings and Watercolors from the Anne S.K. Brown Military Collection, one of the foremost American collections of material devoted to the history and iconography of soldiers and soldiering. This is our basic reprographic setup: our digital back is mounted on a specialized lens; and two softboxes (only one pictured) are positioned at the same angle to, and equidistant from, the shooting platform.

cr-01

We have multiple ways that we can approach digitizing a bound volume. Depending on its size and condition, we have different book cradles that we can use to either provide non-invasive, gentle support to a fragile book, or to lightly press open and flatten the pages of more robust, tightly-bound items. Because this book was relatively small, and bound very loosely, I chose to simply lay it flat on the platform (which is covered in 1/2″ thick foam core) and use a foam wedge to support the opposite side of the book. To keep the foam in place, I used a covered brick placed directly behind the foam. Here, the image (from the reprographic camera’s point of view) shows that I’m photographing the back of an illustration; we generally photograph both the front and back of all our materials.

cr-02

We also make sure to include a target in each image. You’ll notice I’m using a medium-sized target made by Image Science Associates here, sitting atop a thin wood block. It’s important to keep the target in focus as I move through the book, which means that the target must be the same distance from the camera as the page that I am photographing. We use a variety of tools to make sure the target and page are the same distance from the camera – foam, wood blocks, etc., – and you can see my extra, smaller target as well as additional blocks I have at the ready as I move through the pages of the book.

I should note that while this is a more typical setup, each object presents its own set of requirements to both care for the actual item but also produce the best quality, most viable digital image possible. Some are certainly more straightforward than others, and some come with surprises like folds that won’t settle or rippling pages. Our setup will start basically the same (support the object, correct focus and lighting) and then we move, with adjustments here and there, to the final product.