1. To create a new reserves list, first enable your Course Reserves link in your Canvas course page’s navigation menu
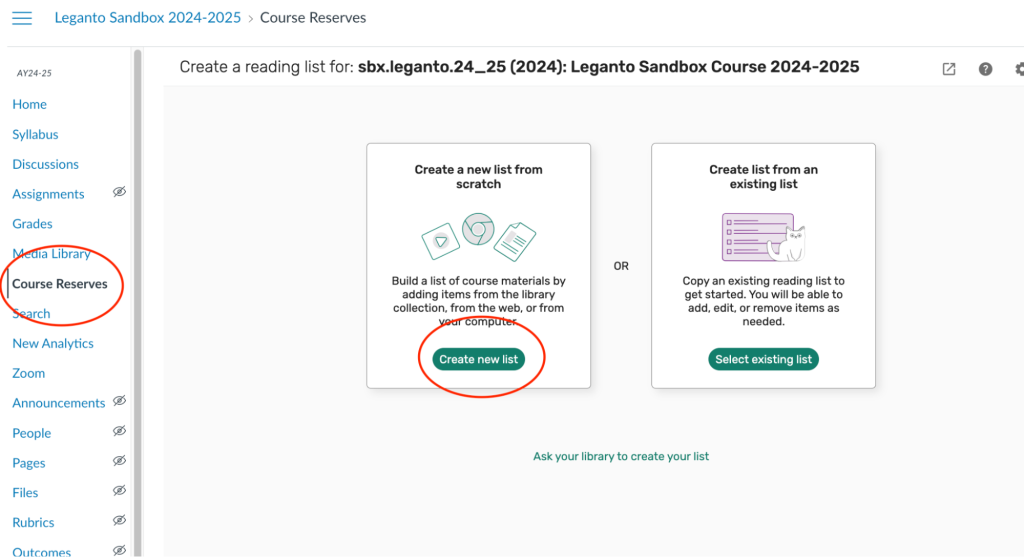
2. After enabling your course reserves link, select Course Reserves from the navigation menu in your Canvas course page. Next, you’ll be presented with a few options for creating your reserves list:
- Create a new list from scratch– Use this option to create a new reserves list
- Create list from an existing list– Use this option to reactivate or use a previous list of resources
- Ask your library to create your list– Use this option to upload a file of resources needed for the library to create the list on your behalf
Since we are creating a new list, select Create a new list from scratch
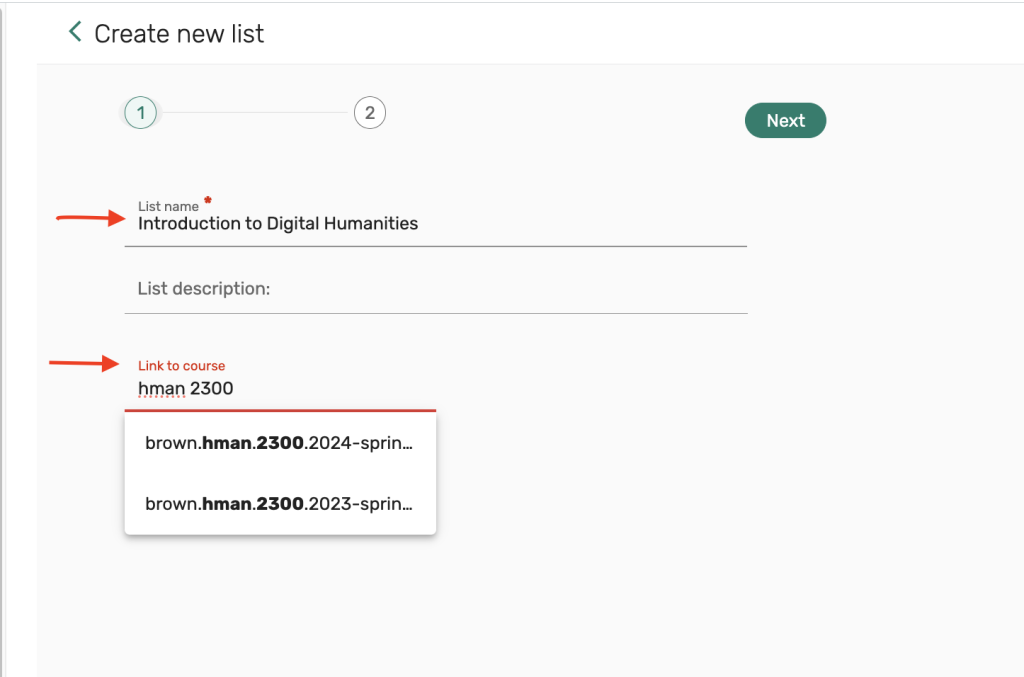
3. Your List name will default to the name of your course, but you can edit this field to whatever you choose.
Under Link to course, start by typing your course code or name to see a list of courses that you can associate your reserves list with. Select the correct course and semester that you would like the list to be associated with.
Once you have completed these steps, select the Next button to continue.
4. Choose which template you would like to use to display and organize your course readings. There are 3 options: Default (one section), Resource type, or Weeks.
Click on each option from the dropdown menu to see a preview of what your list will look like in the Preview section. After selecting your template select Create list.

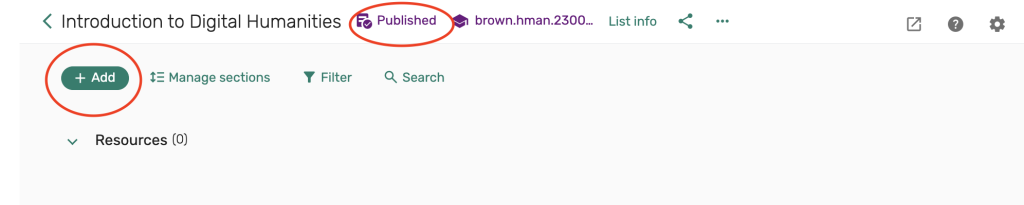
5. This completes your initial list setup. Our system is configured to automatically publish your list to course students and to also send your list to the library for processing.
You can begin adding reserves requests by selecting the Add button. For more information on adding reserves requests to your course, please see our instructions on Adding reserves requests to your reserves reading list.